
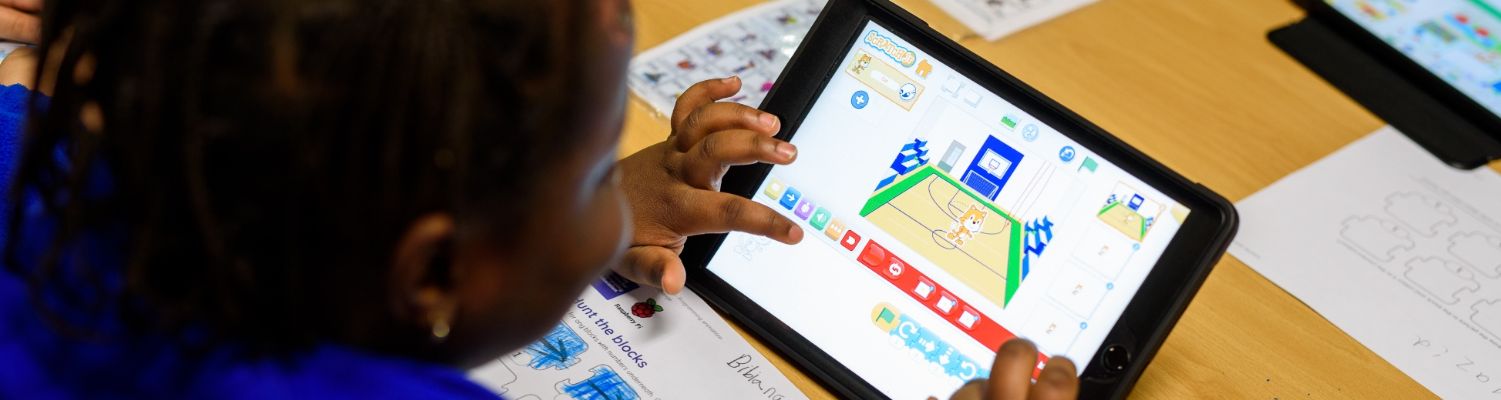


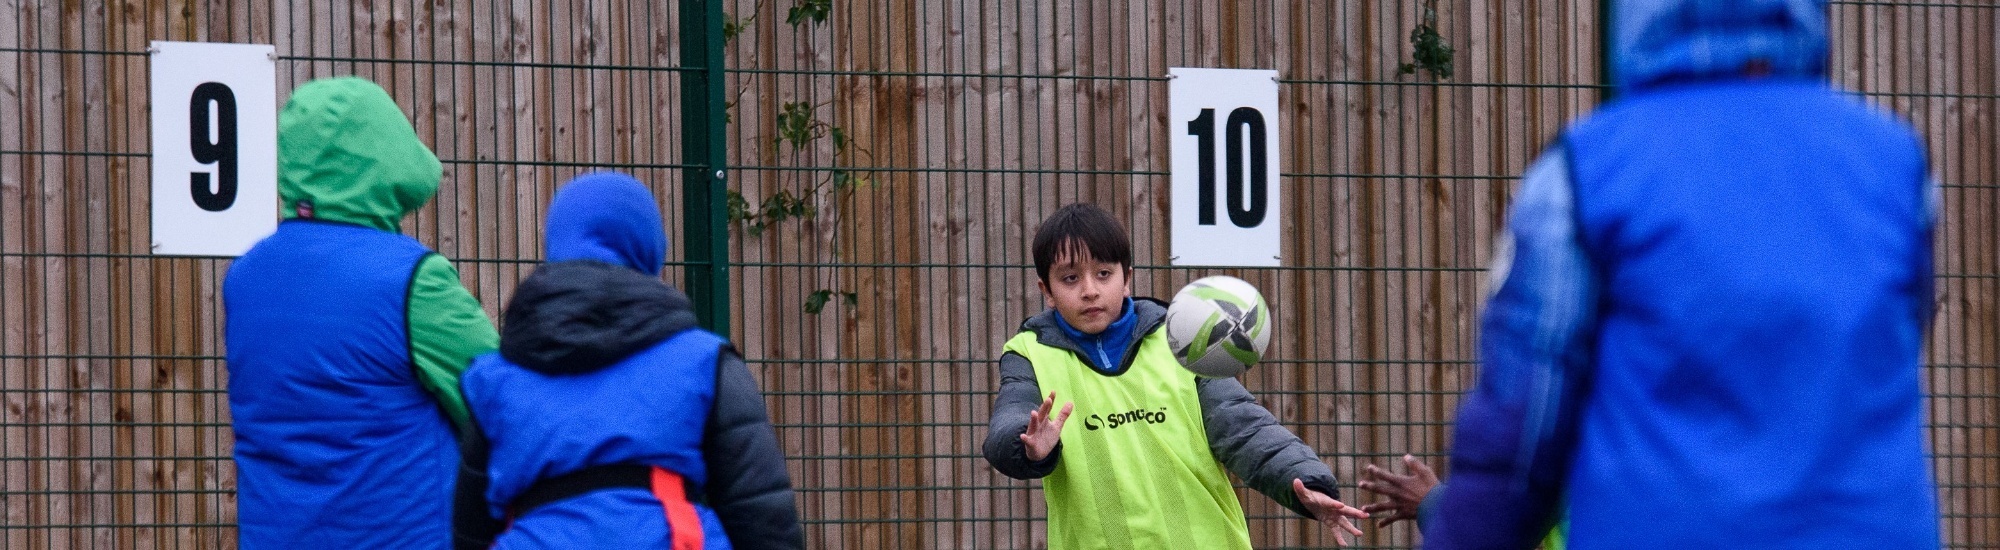
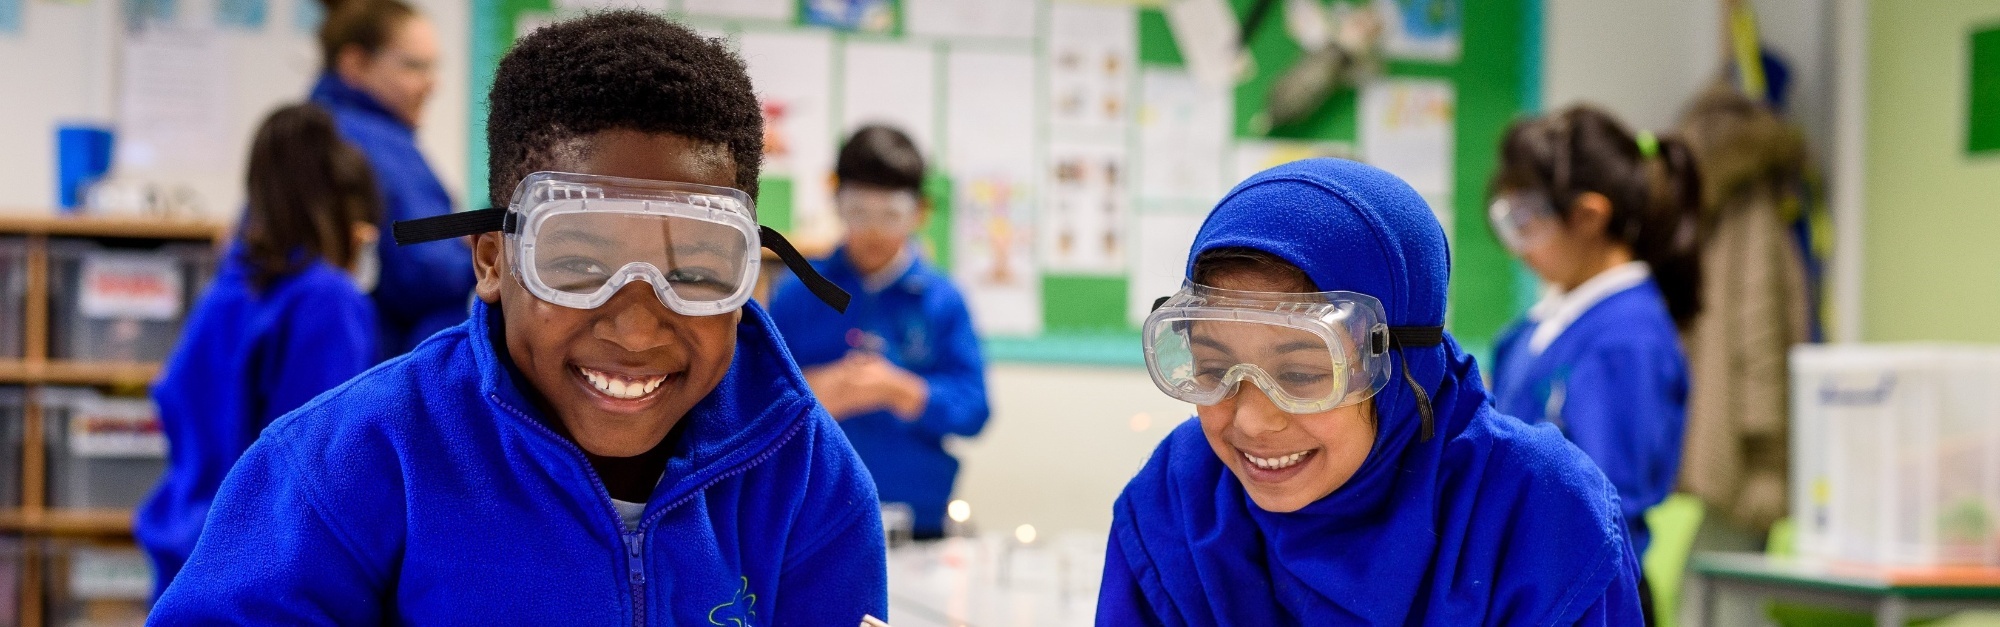

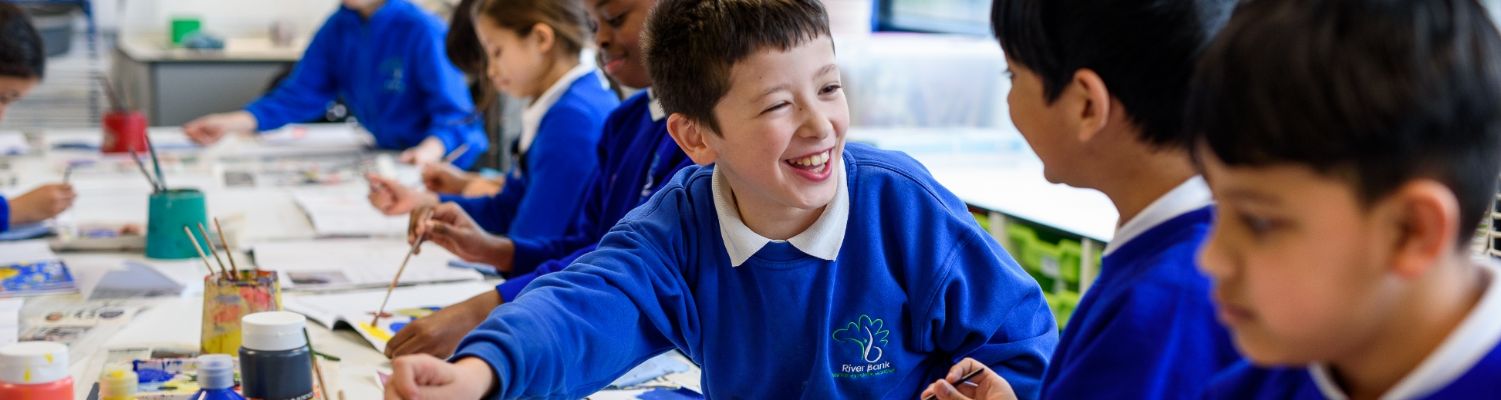

Science
Scientists
Famous Scientists - Click on their picture to find out more!


Science In The News This Month

Questions
Click the question mark below to ask your question! - Answers will appear here

| Question | Answer |
|---|---|
| What would happen if gravity didn't exist on planet Earth? | Without gravity we would be weightless. Everyone and everything would no longer be bound to the Earth and we would become very fast- moving floating tumbleweed, this is beacuse the world will continue to spin. |
| When is the next Science week? (Hare Class) | Next academic year. Be there or be square! |
| How does a lunar eclipse happen? |
The Earth's orbit moves between the sun and the moon. The Earth blocks the sun's light from reaching the moon and causes a lunar eclipse. |
Experiments you can do at home
Float A Paperclip In Water
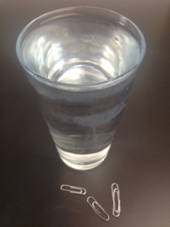
What Do I Need?
- Glass of water
- Paperclip
How Do I Do It?
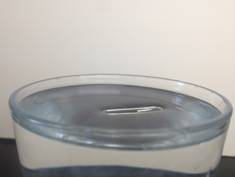
STEP1 - Just prove to yourself what you already know, if you drop a paperclip into a cup of water then it's sure to sink!
STEP2 - We need to lower the paperclip extremely gently onto the surface of the water. The simplest way to do this is to take another paperclip, extend it out, and then use it as a lever to lower the paperclip that you want to float. (Make sure to fill your glass of water near to the top as that will make things easier.)
Top Tip: It's always a good idea to wash your hands with water only - not with soap - before you get started. More on why you need to do this in a sec!
STEP3 - Sit back and relax and enjoy your floating paperclip! When you've finished doing that we'll have a look at what's going on!
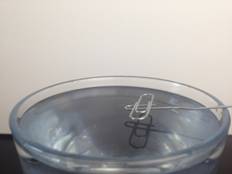
What’s Going On?
You know that as paperclips are made out of metal they're more dense than water, that's why they normally sink.
How come this one is floating?
It all has to do with surface tension. It's actually the surface of the water that's holding the paperclip up!
We'll prove this next!
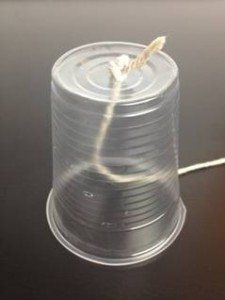
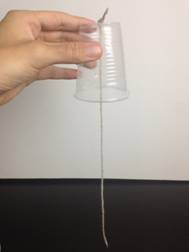
Screeching Science Cup
What Do I Need?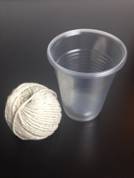
- String
- Plastic cup
How Do I Do It?
STEP1 - First of all make sure an adult helps you to make a small hole in the bottom of the cup. This can be done easily with a pair of compasses or more carefully with a pair of scissors.
STEP2 - Cut a 30cm length of string and tie several knots in the end of the string, so there's no way it will slip through the hole.
STEP3 - Time to get screeching! First make sure you really wet your hands and wet the string a little bit with some water. Then pinch the string between your fingers and pull smoothly down on it to make the screeching sound!
What’s Going On?
Every single sound you ever hear in your whole life is caused by a 'vibration'. When someone talks their throat vibrates.
When you bang a drum, the skin of the drum vibrates and it's that vibration that causes the noise.
In this case the string is vibrating and the sound is being amplified by the cup. This is like the age old idea of making a 'telephone' out of plastic cups and string!
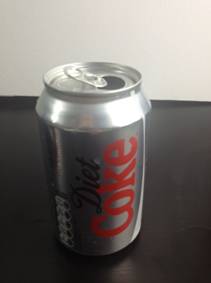
The Balancing Can
What Do I Need?
- Just a can of fizzy drink
How Do I Do It?
STEP1 - Good news! The very first step is to open up your can and start drinking! Don't drink it all though...
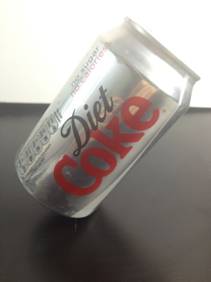
STEP2 - Once you're down to about one third of your can remaining you'll be able to turn the can onto its side and balance it as shown.
STEP3 - It really looks as though it's going to fall but as long as you've left the right amount in, it'll balance!
STEP4 - Show your friends next time you're drinking a fizzy drink!
What’s Going On?
It all has to do with weight distribution.
The can looks as though it'll fall over, as it's leaning to one side but it's only the bottom portion of the can that's full of water!
The can is pivoting on the point that's touching the table and there's an equal amount of twisting it over and pulling it back.
It only looks as though it'll fall as it overhangs more on the one side but there is very little weight in that part of the can (as it's empty!)
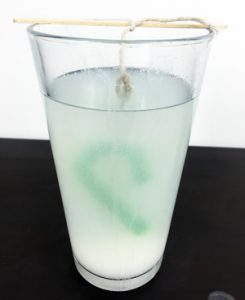
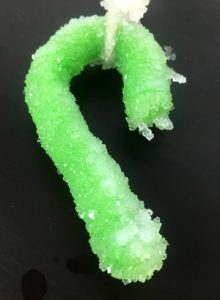
Crystal Canes
What Do I Need?
- Borax
- Pint of water
- Pipe cleaner
- Scissors
- Stick
- Sting
How Do I Do It?
STEP1 - To make sure our Crystal Canes don’t get stuck to the side of the glass the first step is to get an adult to help cut our pipe cleaner in half.
WARNING: Never drink Borax. Make sure you label and store it correctly and wash your hands after your finish experimenting!
STEP2 - Get an adult to help out with filling your pint glass with some very warm water.
STEP3 - Add a table spoon of borax at a time and stir it in. Keep going until you can’t dissolve anymore and there is a white layer at the bottom of the glass.
STEP4 - Tie a piece of string around your pipe cleaner cane and your stick.
STEP5 - Lower our pipe cleaner cane into you glass making sure it doesn’t touch the bottom or the sides.
STEP6 - Leave overnight for your Crystal Cane to form!
What’s Going On?
When you mix your borax with your warm water so that some remains undissolved you maximised the amount of borax that the water can hold.
As the water begins to cool the amount of borax your water can ‘hold’ starts to come down. Your borax is ‘looking’ for somewhere to go.
Your pipe cleaner cane is kind of rough and offers the perfect place for your borax to settle (as opposed to the smooth sides of your glass).
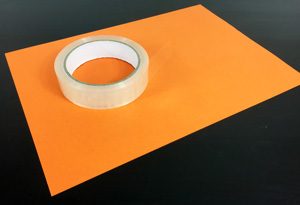
The Ultimate Paper Glider
 What Do I Need?
- A piece of A4 paper
- Tape
How Do I Do It?
STEP1 - Start with your piece of paper in the landscape position and fold it so you can see two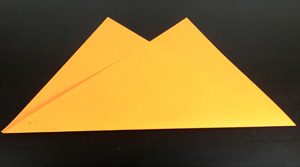 pyramids.
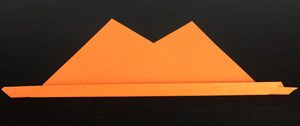
STEP2 - Next, fold the long edge of your paper over about 1cm in from the edge.
STEP3 - Repeat this again for a second fold.
STEP4 - One more fold for luck!
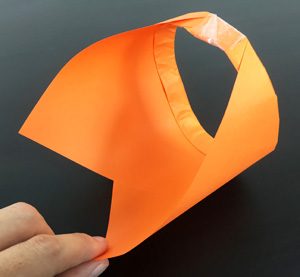
STEP5 - Work you hand around your glider so that the two ends can connect together. Add a piece of tape at the ends in order to secure your glider in place.
STEP6 - To launch your Ultimate Paper Glider just throw it gently in just the same way that you would throw a javelin!
What’s Going On?
Our Ultimate Paper Glider is a little bit different to a ‘normal’ paper aeroplane as it doesn’t have wings as such.
But it does work in the same kind of way as a regular paper aeroplane.
Gravity pulls the glider down and the whole thing acts as a wing and lifts the glider up.
Because our glider produces very little air resistance and is nice and light it can cover some real distance with very little effort!
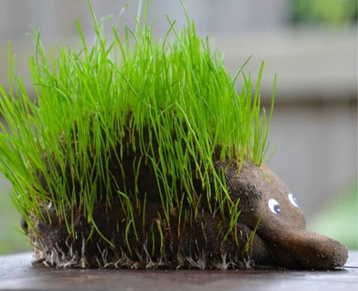
Animal Grass Heads
What Do I Need?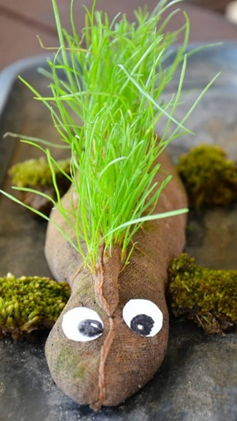
- Tights
- A needle and thread
- Soil
- Grass seeds
- Water
How Do I Do It?
Step 1 - Draw the animal shape on tights with felt pen
Step 2 - Sew or stitch around the shapes. Ensure you leave one end open.
Step 3 - Cut the surrounding tights away from the shape.
Step 4 - Mix 1 cup of soil and 1 cup of grass seed.
Step 5 - Put the seed and soil mixture into the tights
Step 6 - Sew up the open end of the tights, or use a rubber band to seal the end.
Step 7 - Soak the animals in water and keep it moist (not wet).
What's Going On?
In less than three days, you’ll see the seeds start to germinate. The roots will come down first. Within 5- 6 days you’ll have a healthy head of grass hair on your animals and enough to start cutting your animal’s hair.